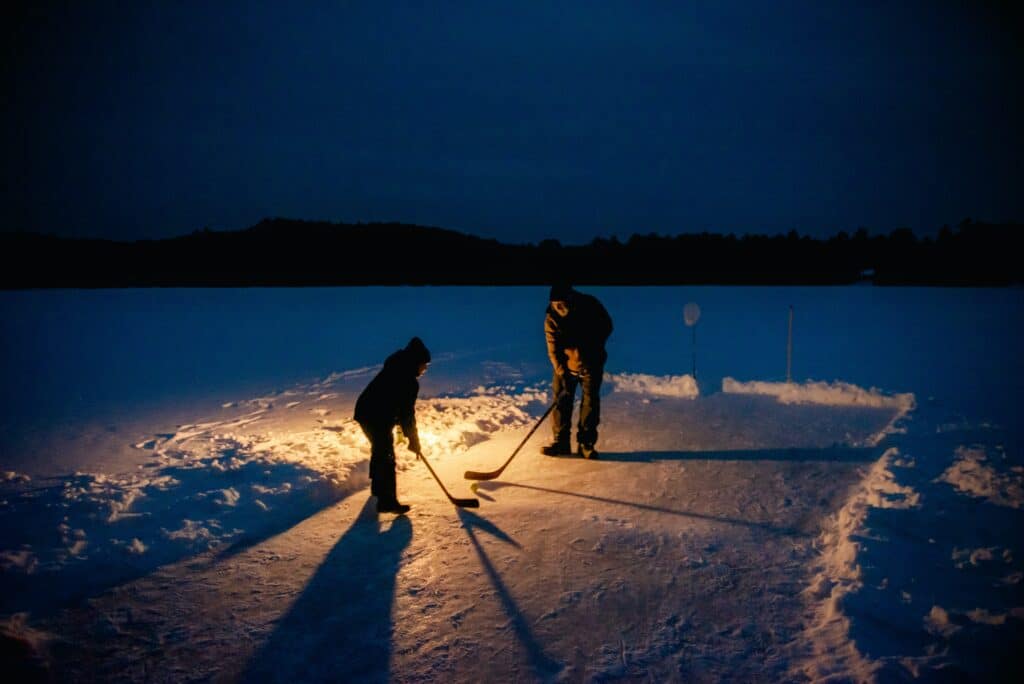
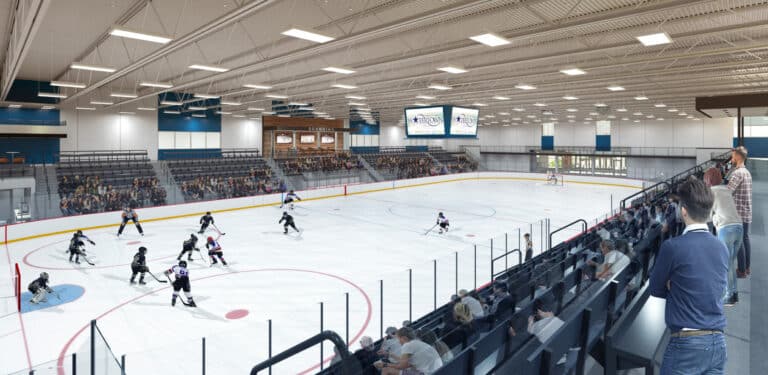
When it comes to hockey, the ice experts in JLG Architects’ sports studio are passionate about every rink – whether designed for the pros or their own backyards. Today, we pulled the team off the ice to find out more about what it takes to create the ultimate outdoor rink.
Lace up your skates and bundle up – we’re revealing their top tips for designing the best in backyard rinks so you can celebrate Hockey Day every day.
Preparation
- Find level ground and build your rink within a manageable distance for your hose length.
- Plan ahead for support areas and items: a warm space to change into skates with a skate-safe path to the rink; access to a toilet with skates on; lights in locations protected from flying pucks; weather and temp safe Bluetooth speakers.
- If your rink is near a fence, consider adding outdoor sports netting. Plastic fences don’t hold up well in the cold.
- Use boards to create a rink perimeter. These can be 2×10’s, scrap lumber, or even premade perimeter rink curbs. Secure them using stakes driven into the ground.
- Shovel the ground down to the grass to create a solid surface for building up the ice.
- Install plastic poly to form a bathtub to help hold the water in.
Bring on the Water!
- Flood the area with water in multiple thin layers. This is most easily done by misting the water onto the surface. This will eliminate the chance for blistering of the ice, which happens when the water freezes from the top down and traps air into the ice.
- Add lines into the rink by using latex paint, yarn, non-woven tissue paper. Always place the lines towards the top surface of the ice surface so they are visible and crisp.
- Always scrape off as much snow and ice shavings as possible prior to reflooding the ice. This will help ensure you have a fast, blister-free ice surface.
- Use cold water to build the base layer, then hot water and a special tool like a Rink Rake or similar.
- Resurface at night before going to bed so your home water heater has a chance to fill back up overnight in time for morning showers.
- If you’re using hot water, move quickly or use a helper to keep the warm hose off the ice. The warm hose will melt the ice fast!
- For sand floor arenas, soak the sand before turning on refrigerant, then build a 1/8-to-1/4-inch black ice sheet. Common practice is to then drive a heavy truck or resurfacer on the ice to crack it on purpose, then keep building a normal sheet. Cracked ice reduces the chance of larger cracks later and relieves stress in the base layer.
Maintenance
- Warning: If your rink is exposed to a lot of sunlight, the painted lines can cause problems with an early melt on exposed and painted areas.
- Clear snow by wearing skates and using a small snowblower with studded tires. It pulls you along behind like a charm.
- A double layer of poly will save you a lot of headaches. Two thin strips near the boards and then a large sheet over top.
- Create a place to keep your outdoor sticks and pucks that will keep them outside, but also protected from the snow.
- Always remove nets and pucks, especially if you need to use a snowblower. Nets and pucks will heat up and melt into the ice.
- Cracks in the ice can be repaired with hot water.
Later this month, you can see JLG Senior Principal Architect Tom Betti’s expertise on display when Hockey Day Minnesota skates into White Bear Lake, where he helped design the outdoor rink for Hockey Day Minnesota festivities. Learn more at hockeydaymn.com.


